How To Set-Up Your Java Coding Environment.
We'll walk you through the process of setting up your Java development environment in this article. The key to effective Java programming, regardless of your level of experience as a developer, is having a correctly configured environment. You may quickly learn how to code by following these instructions.
-
Install Java Development Kit (JDK): The JDK software development kit provides the necessary tools, libraries, and compilers for Java development. Here's how to install it:
a. Visit the official Oracle JDK website (https://www.oracle.com/java/technologies/javase-jdk11-downloads.html) and download the appropriate JDK version for your operating system.
b. Run the installer and follow the on-screen instructions to complete the installation process.
c. Set up the JAVA_HOME environment variable to point to the JDK installation directory. This allows other tools and applications to locate the Java installation.
-
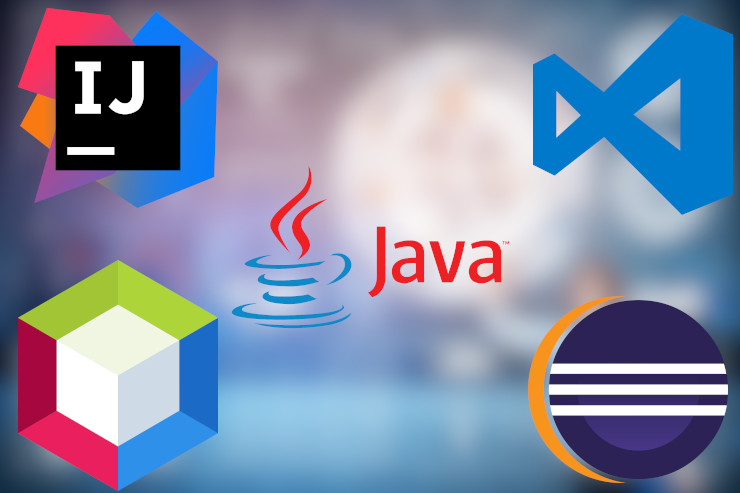
Choose an Integrated Development Environment (IDE): An IDE helps streamline development by providing features like code editing, debugging, and project management. There are several popular Java IDEs to choose from, such as Eclipse, IntelliJ IDEA, and NetBeans. Here's how to install one of them:
a. Visit the website of your preferred IDE (e.g., Eclipse - https://www.eclipse.org/downloads/) and download the installer for your operating system.
b. Run the installer and follow the on-screen instructions to complete the installation process.
c. Launch the IDE and configure any additional settings according to your preferences.
-
Set Up Build Tools: Build tools automate the process of compiling and packaging Java applications. The most widely used build tool in the Java ecosystem is Apache Maven. Follow these steps to install Maven:
a. Visit the Apache Maven website (https://maven.apache.org/download.cgi) and download the latest stable release of Maven.
b. Extract the downloaded archive to a directory on your computer.
c. Set up the MAVEN_HOME environment variable to point to the Maven installation directory.
-
Verify the Installation: To ensure that your Java coding environment is correctly set up, perform a quick verification:
a. Open a terminal or command prompt.
b. Type
java -versionand press Enter. It should display the installed Java version.c. Type
javac -versionand press Enter. It should display the installed Java compiler version.d. Type
mvn --versionand press Enter. It should display the installed Maven version.
Congratulations! Your Java development environment is now set up and ready to use. You are prepared to start your Java development journey now that you have the JDK, IDE, and build tools in place. Build incredible applications by exploring the huge realm of Java programming.
To take advantage of new features and improvements, keep in mind to upgrade your environment frequently with the most recent versions of Java, IDEs, and build tools.
Note: This article offers a generic setup guidance for a Java development environment. Depending on your operating system and personal preferences, specific steps could change.


